Get started with the nRF5340 DK
Get started with the nRF5340 DK
Step 2 of 3
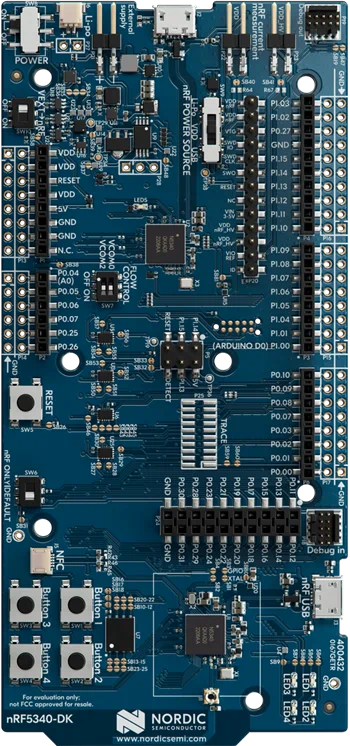
Use the micro USB 2.0 cable to connect the nRF5340 DK to one of your PC's USB ports. This provides power to the board and supports target programming. Flip the power switch to "on." Find it near the micro USB connector.
Get started with the nRF5340 DK
Step 3 of 3

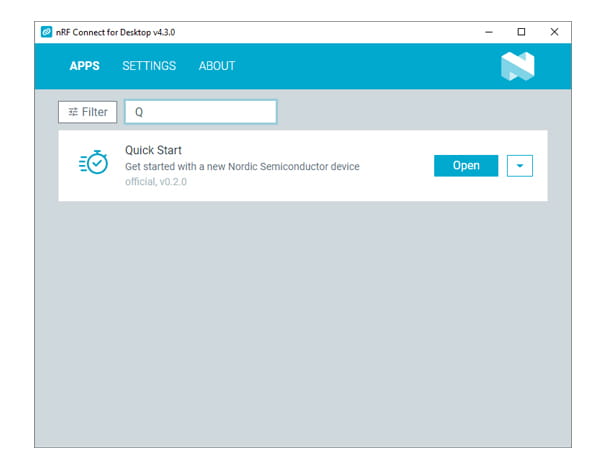
Open Quick Start in nRF Connect for Desktop and follow the instructions in the app
Developer Academy
Get started with the Nordic DevAcademy
To get started developing with the nRF5340 DK, we provide the nRF Connect SDK Fundamentals course. The course takes you step-by-step through installing and setting up the nRF Connect SDK and teaches you how to develop applications with hands-on coding exercises using your DK.
Next steps
Working with the nRF53 Series in nRF Connect SDK


